- Amazon
- Flipkart
- Meesho
- Amazon Seller FlexNew
- Merge PDF
- IndiaMart CRM
- Other tools
PDF Tools
Barcode & Image
- Login

23-09-2026 · Quick Cropper
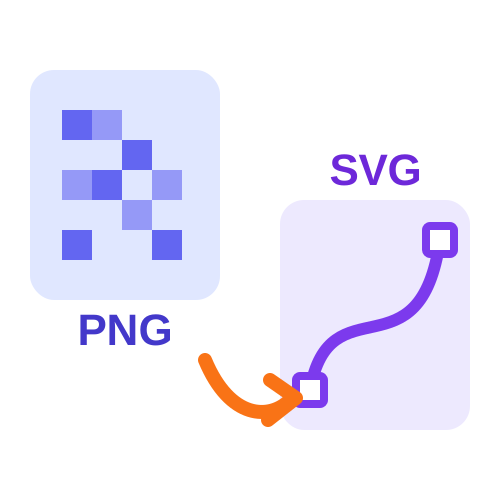
The settings in the PNG to SVG converter change how closely the SVG follows your image and how big the file gets. Here is what each one does, so you can pick the right values instead of guessing.
This is how many colours the tracer keeps, from 2 to 64. Similar shades are grouped together, and each group becomes one layer of shapes.
A flat, poster-like look with a small file. Ideal for simple logos.
Keeps soft shading and detail, but the file grows and tracing takes longer.
Low detail smooths away tiny features for fewer, cleaner paths. High detail follows every edge closely - good for small text, but it makes more shapes.
Smoothing softens the image before tracing. Leave it off for sharp artwork; raise it for photos of logos, scans or compressed JPGs that have speckles.
With gradients on, linear and radial gradients become real SVG gradients instead of stripes of flat colour, so smooth colour transitions stay smooth.
Start with a low colour count and medium detail, then increase only what the preview shows you need. The smallest settings that still look right give the best SVG.
Last Updated: 23-09-2026